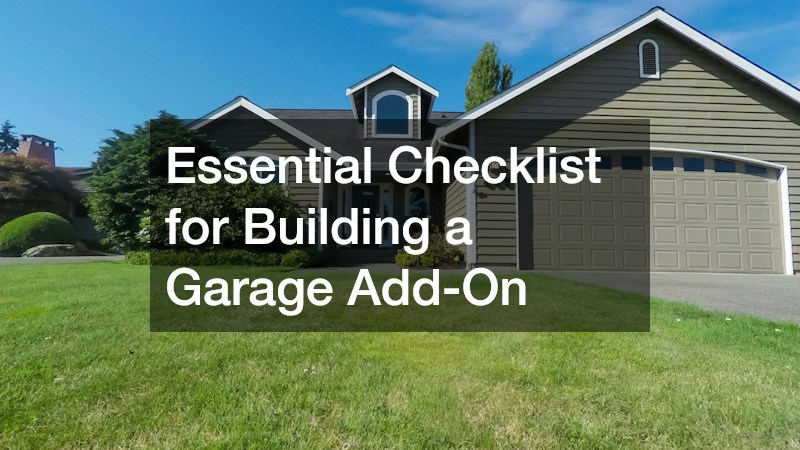
Expanding your residential space with a garage addition is one of the most rewarding home improvement projects you can undertake. Beyond providing secure, climate-protected storage for vehicles and lawn care equipment, a well-planned addition can house a dedicated workshop, serve as a home gym, or even function as a multi-purpose living space that significantly boosts overall property value. However, adding a major structural extension to an existing home requires far more than simply pouring a concrete pad and framing up a few exterior walls.
It demands meticulous upfront planning, seamless trade coordination, strict adherence to local building codes, and a keen eye for architectural continuity. Without a structured roadmap, homeowners frequently encounter unexpected budget overruns, frustrating permitting delays, and structural oversights that compromise the longevity of the structure. By breaking the project down into site assessment, site preparation, foundation work, framing, and interior finishing, you can make informed decisions at every phase and turn your vision into a durable, value-adding reality.
Finalize Your Blueprints and Assemble Your Core Team

Before groundbreaking begins, your primary focus should be securing the specialized expertise required to bring your vision to life safely, legally, and efficiently. Assembling the right team starts with finding a reputable local garage builder who possesses a proven track record in custom residential additions. When interviewing prospective general contractors, request a detailed portfolio of recent completed projects and ask specific questions regarding their active license standing, comprehensive general liability coverage, and workers’ compensation insurance. A qualified builder will not only manage trade subcontractor schedules but will also serve as your primary point of contact with municipal building inspectors. Take the time to contact at least three past client references to inquire about the contractor’s communication style, daily jobsite cleanliness, adherence to agreed project timelines, and ability to address unexpected structural challenges without inflating the baseline budget.
Architectural integration is another vital consideration during the initial planning phase. A common mistake in residential expansion is designing a space that looks visually disconnected from the main home. When drafting construction plans for modern garage buildings, take precise care to match the roof pitch, siding materials, window trims, and color schemes of your existing residence. If your main house features traditional lap siding and architectural shingles, your new structure should incorporate those exact materials to maintain aesthetic balance. Incorporating similar exterior lighting fixtures, decorative roof gables, or matching fascia details ensures the new construction enhances your property’s overall curb appeal rather than appearing as a secondary, haphazard attachment.
Navigating the municipal approval process is a critical hurdle that must be cleared before buying materials or digging trenches. Skipping proper permitting can lead to costly stop-work orders, steep fines, and significant complications when you eventually decide to sell your home. Work closely with your design team to compile and submit all necessary documentation to your local planning department before committing to construction schedules.
- Review local municipal zoning ordinances to confirm required setback distances from property lines, maximum building height allowances, and overall lot coverage limits.
- Secure formal approval from your homeowners association by submitting detailed exterior elevation drawings, material samples, and precise swatches.
- Schedule mandatory phase inspections early in the process, including initial footing excavation, rough framing, plumbing, electrical installation, and final building sign-off.
- Verify that all structural engineering drawings account for regional environmental factors, such as heavy snow loads, seismic activity, or high wind zones.
Prepare the Terrain to Prevent Future Water Damage
Proper land grading is the absolute first line of defense against groundwater infiltration, foundation erosion, and structural settlement. Before any heavy equipment pours concrete, evaluate the natural contours of your yard to establish a slope that actively directs surface runoff away from the planned structure. Professional driveway grading establishes a precise slope away from the home foundation, preventing surface water from pooling along the outer perimeter. If rainwater accumulates near your concrete slab, it can saturate the supporting subsoil, leading to high hydrostatic pressure, foundation cracking, and eventual moisture intrusion inside the building envelope.
While proper surface pitch handles basic rain runoff, heavy rainfall and high regional water tables require aggressive subsurface drainage solutions. Engaging a licensed French drain contractor ensures that persistent underground moisture is captured and safely redirected before it undermines your new foundation. A subterranean drainage system consists of a perforated pipe set in a gravel-filled trench, designed to intercept groundwater and channel it away from the structure toward a designated discharge point or storm drainage system. Installing this protective drainage barrier along the uphill perimeter of your new addition mitigates soil erosion, preserves sub-base stability, and protects interior floors from seasonal water seepage.
Site excavation requires careful coordination to avoid damaging hidden utility infrastructure or destabilizing the surrounding soil. Before clearing vegetation or stripping surface topsoil, take essential preliminary precautions to safeguard workers, neighbors, and existing underground utility lines.
- Call the national 811 utility location service at least three business days before excavation to clearly mark underground gas, electric, water, sewer, and telecommunications lines.
- Strip surface topsoil down to stable, unyielding subsoil across the entire building footprint to prevent organic decomposition from causing ground settlement.
- Establish a designated staging area for heavy excavation machinery and excavated dirt stockpiles to minimize soil compaction across remaining yard space.
- Install temporary silt fencing along the low perimeter points of the construction site to control soil erosion and prevent muddy runoff from washing into neighboring properties.
Stabilize Existing Approaches and Source Reliable Foundation Materials

When building an addition onto an existing property, you must address the condition of adjacent concrete surfaces that connect to the new space. Existing walkways, patios, or driveways often suffer from settling over time, creating awkward height transitions and structural gaps along the joining seams. Rather than spending thousands of dollars on complete concrete demolition and repouring, consider mudjacking to lift and level sunken concrete slabs back into alignment. This process involves pumping a dense, eco-friendly slurry beneath the sunken slab through small drilled holes, gently hydraulic-lifting the concrete back to its original grade. Leveling these connecting approaches ensures a smooth transition into your new space while preventing rainwater from pooling against the newly poured foundation.
Securing top-quality concrete mix delivered on a reliable timetable is essential for achieving a strong, crack-resistant foundation slab. Coordinating with a dependable local concrete supply company guarantees that your specified mix arrives at the job site at the optimal slump, temperature, and consistency. Transit time directly impacts concrete workability; extended travel times in a mixer truck can cause the batch to hydrate prematurely, forcing workers to add excess water that permanently weakens the final compressive strength. Sourcing concrete locally allows for precise delivery scheduling, ensuring continuous pours without dangerous cold joints where fresh concrete meets setting concrete.
Preparing the foundation bed requires meticulous attention to subsoil compaction, moisture protection, and internal steel reinforcement before any concrete delivery trucks arrive on site. A well-engineered sub-base evenly distributes structural weight and prevents moisture from migrating upward into the building envelope.
- Compact a dense aggregate base layer of crushed gravel to a minimum thickness of four to six inches using a mechanical heavy-duty plate compactor.
- Lay a heavy-duty vapor barrier, at least 10 to 15 mil thick, directly over the aggregate base to prevent ground moisture from migrating upward through the concrete slab.
- Install gridwork rebar elevated on concrete chairs to ensure internal steel reinforcement sits in the middle third of the poured concrete slab.
- Verify that expansion joints are placed along any existing structural home walls to isolate the new slab from natural building movements and thermal expansion.
Oversee the Structural Framing and Insulate the Envelope
The day of the foundation pour demands close supervision and flawless execution by skilled trade specialists. Contracting an experienced concrete construction service ensures that perimeter forms are rigidly braced, steel reinforcement is properly positioned, and placement proceeds without delay. During the pour, workers must use mechanical concrete vibrators to consolidate the wet concrete, removing trapped air pockets that compromise compressive strength and structural density. Once placed, the crew must apply appropriate screeding, bull-floating, and troweling techniques to achieve a flat, level surface, followed by applying a proper curing compound or moist-curing regimen to maximize strength over the subsequent 28 days.
Once the foundation slab cures and wall framing is erected, focus shifts to sealing the building envelope against thermal transfer and weather elements. Selecting high-performance energy efficient windows keeps heating and cooling costs manageable, especially if you plan to convert the space into a year-round workshop, home office, or climate-controlled gym. Look for double- or triple-pane units with Low-E glass coatings and argon gas fills that block thermal transfer and harmful ultraviolet rays. Proper window installation requires meticulous self-adhering flashing and perimeter foam sealing to prevent wind-driven rain from penetrating the rough openings and causing hidden wood rot within wall cavities.
Weatherproofing the exterior frame before installing interior drywall or running electrical wiring protects structural wood framing members from moisture damage and mold growth. A tight weather barrier lowers operational energy costs and maintains healthy indoor air quality.
- Wrap the exterior wall framing in a breathable weather-resistive barrier, ensuring all seams are taped securely from bottom to top in an overlapping shingle fashion.
- Tie the new roof rafter or truss structure securely into the existing home roof line using structural hurricane ties and heavy flashing at all valley intersections.
- Insulate exterior wall cavities with high-R-value fiberglass batts, mineral wool, or closed-cell spray foam to maintain consistent interior temperatures.
- Install durable exterior siding that complements your primary residence while providing a low-maintenance protective layer against wind and rain.
Finalize Secure Entryways and Protect the Interior Floor
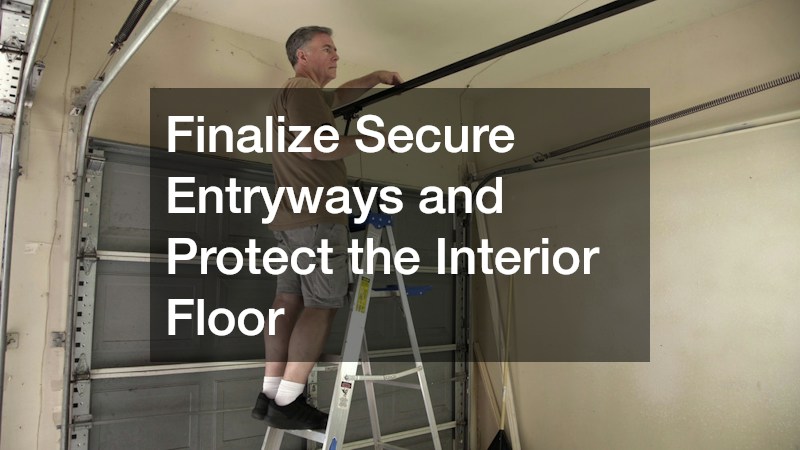
The primary overhead door is the largest moving component of your new addition, making its selection and installation critical for security, thermal insulation, and daily convenience. Relying on specialized garage door services ensures that heavy steel tracks are installed perfectly square, high-tension torsion springs are safely calibrated, and automatic openers operate smoothly. Opt for insulated overhead doors constructed with dual steel skins and dense polyurethane foam cores to minimize sound transmission and heat loss. Modern openers should also feature rolling-code security, battery backup capabilities, and smart-tech smartphone connectivity for remote access control, scheduling, and real-time open alerts.
Bare concrete floors are inherently porous, making them highly susceptible to oil stains, chemical degradation, concrete dusting, and moisture damage from hot tires. Applying a multi-layer commercial epoxy coating transforms raw concrete into an attractive, chemical-resistant, and non-porous surface. High-performance polyaspartic or epoxy systems seal concrete against liquid penetration, making oil cleanups effortless while resisting impact damage from dropped tools or heavy equipment. Professional floor prep, including mechanical diamond grinding or acid etching, is essential to open the concrete pores and guarantee a permanent chemical bond that will not peel or flake over time.
Completing interior details turns a bare structural shell into a highly functional, safe, and comfortable multi-use space. Prioritize a thoughtful electrical layout and lighting design before moving in heavy equipment, vehicles, or storage units.
- Install a dedicated electrical subpanel to handle heavy electrical draws from power tools, electric vehicle chargers, or supplemental heating and cooling units.
- Position bright, high-efficiency LED ceiling light fixtures evenly across the ceiling grid to eliminate dark shadows and work areas.
- Add plenty of electrical outlets along workbenches, including GFCI-protected outlets near entry doors or water supply lines.
- Mount ceiling-suspended racks or heavy-duty wall slat systems to utilize vertical storage space and keep floor zones clutter-free.
Summary Checklist Overview
A successful residential extension requires a methodical approach across every phase of planning and execution. During the initial planning and site preparation stages, focus your efforts on hiring a qualified general contractor, finalizing architectural blueprints, and securing all required municipal permits and homeowners association approvals. Once administrative tasks are complete, shift immediate attention to site work by marking underground utilities, stripping topsoil down to stable sub-grade, establishing proper surface drainage slopes, and putting subterranean moisture management systems in place.
As construction moves into structural phases, focus on stabilizing adjacent existing concrete work before placing your aggregate sub-base, vapor barriers, and reinforced steel gridwork. Oversee the concrete placement and curing processes carefully before erecting structural framing, tying in the roofline, and installing insulated windows and protective weather barriers. Finally, complete the project by installing secure, high-performance overhead doors, applying durable chemical-resistant floor coatings, and completing essential electrical work, including subpanel installation and bright overhead illumination.
Building a custom garage extension is a significant home improvement investment that pays long-term dividends in utility, lifestyle flexibility, and property resale value. By methodically following a comprehensive checklist, you eliminate guesswork, streamline contractor workflows, and prevent costly structural oversights. From preliminary ground leveling and subterranean drainage to foundation pouring, thermal insulation, and high-durability floor coatings, every step plays a vital role in creating a safe, comfortable, and lasting space. As your project nears completion, assemble a dedicated binder containing all structural plans, municipal permit sign-offs, contractor contact details, and equipment warranty paperwork. Routine maintenance and high-quality finishes ensure your new addition will serve your household safely and efficiently for decades to come.