Severe seasonal weather has a habit of revealing the weak points in your home exterior when you least expect it. After a relentless windstorm, an intense downpour, or a heavy winter freeze, you might walk outside to inspect your property and find loose, torn, or entirely missing shingles scattered across your yard. Inside, small water stains forming along an attic rafter or upper-ceiling corner indicate that moisture has already bypassed the exterior barrier. For a homeowner, discovering that your roof has suffered physical damage is stressful, but discovering it early provides a clear window of opportunity to intervene before wood rot and interior water damage compromise your living space.
Pre-Job Inspection and Safety Rigging
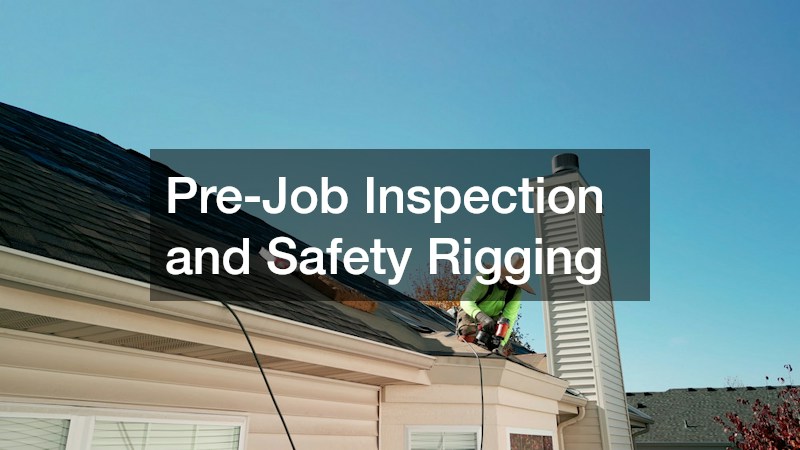
Before carrying tools up an extension ladder or purchasing matching bundles from the home center, you must conduct a thorough preliminary inspection and build a dependable safety foundation. Most serious falls do not happen in the middle of complex carpentry; they occur during the transition between the ladder and the eaves, or when a worker loses footing on a pitch that exceeds their physical capability or equipment limits. If your roof pitch is steeper than a 6/12 slope—meaning the roof rises more than six vertical inches for every twelve horizontal inches—it is generally too steep for casual DIY footing without permanent scaffolding or specialized roof jacks.
Your ladder setup serves as the primary gateway to the work area and must be secured against movement. Always follow the established four-to-one ratio: for every four feet of vertical height from the ground to the eave support point, pull the base of the ladder one foot outward. The ladder side rails must extend at least three full feet above the gutter line to give you a secure handhold when dismounting onto the deck.
- Use a dedicated ladder standoff stabilizer bracket bolted to the top rungs to rest the weight against the exterior wall studs rather than bending your fragile metal gutters.
- Stake the ladder feet into the ground or screw a treated timber cleat behind the feet if positioning on grass, dirt, or loose gravel.
Personal fall arrest systems are mandatory for any work taking place beyond simple ground-level single-story eave repairs. Install a heavy-duty reusable steel ridge anchor into the structural ridge beam or primary rafter using manufacturer-approved framing screws rather than smooth nails. Fasten yourself into an OSHA-compliant full-body harness paired with an energy-absorbing lanyard, a high-strength vertical lifeline, and an automatic rope-grab mechanism. Adjust the line so that you cannot physically slide past the eave edge should you lose balance while handling heavy shingle bundles.
Furthermore, you must maintain situational awareness regarding electrical service drops and strictly avoid metal ladders near overhead power lines. If you are using a heat gun on stubborn self-sealing adhesive strips during cooler mornings, practice strict fire safety by keeping a fully charged chemical extinguisher within arm’s reach and never applying open flames to dry felt. Evaluating these safety variables early helps you determine whether your project remains a manageable weekend roof repair or presents logistical hazards that warrant full professional intervention.
Teardown and Underlying Deck Assessment
Removing damaged asphalt shingles requires finesse rather than brute force. Because asphalt shingles are laid in overlapping horizontal courses where each shingle is pinned down by fasteners driven through the strip directly below it, you cannot simply yank a torn shingle from the field. Doing so will rip the surrounding, undamaged tabs, expanding your repair area exponentially and creating fresh leak paths across the slope.
Begin by sliding a wide, flat pry bar—often referred to in the trade as a pitch bar or roofer‘s bar—gently underneath the tabs of the shingle directly above the damaged piece. During warm weather, shingles bond together tightly thanks to factory-applied thermal adhesive sealant lines. Work the flat edge of your pry bar along the bottom of the tab with light twisting motions to break this seal without tearing the fiberglass reinforcement mat. Repeat this gentle delamination process on the course directly above that one as well, since the nails holding your damaged shingle were driven through its upper nailing margin and penetrate underneath the next run of tabs.
- Locate the exposed nail heads along the designated nailing line beneath the lifted tabs.
- Slide the notched claw of the pry bar under the head of each galvanized nail, levering the bar against a small wood shim to avoid crushing the lower shingle surface.
With the damaged exterior layer stripped away, turn your full attention to the structural base hidden underneath. Work with local roofers if need be. Peel back any waterlogged, torn asphalt organic felt or synthetic underlayment to expose the underlying roof decking. This wooden subfloor—typically constructed from half-inch CDX plywood or oriented strand board—forms the structural foundation of your entire roof. If a leak has persisted unnoticed for weeks, water may have saturated the wood fibers, resulting in advanced rot or fungal mold growth.
If you discover rot spanning multiple rafter bays, valley intersections, or low-slope crickets, continuing with a localized patch job will only trap decay within your framing. In those instances, collaborating with local roofers ensures that the structural framing is sistered correctly, building codes for shear strength are satisfied, and your home retains its fundamental structural integrity.
Laying Ice Shields, Underlayment, and Starter Courses

Once your wooden sheathing is dry, sound, and thoroughly swept free of stray nails, metal fragments, and loose asphalt grit, you must recreate the layered waterproof envelope. Laying brand-new shingles over raw wood or torn paper underlayment violates building codes and guarantees that wind-driven rain will penetrate the attic rafters. Water management relies entirely on gravitational shedding, meaning lower layers must always tuck under upper layers along vertical slopes, while upper layers overlap lower courses horizontally.
Start by assessing the need for specialized moisture barriers. If your repair occurs within three feet of the eave edge, inside a roof valley, or around a masonry chimney, you should apply a layer of self-adhering modified bitumen ice and water protective membrane directly to the bare wood. Peel the release paper backing slowly, pressing the sticky rubberized asphalt firmly against the deck to ensure an airtight, watertight bond that seals completely around every fastener driven through it.
- Cut the underlayment to size using a heavy-duty utility knife equipped with hook blades to avoid scoring the timber deck below.
- Slide the top edge of your new underlayment at least six inches underneath the sound, existing underlayment higher up the slope.
With the deck waterproofed, address the starter strip layout. Starter shingles feature factory-applied adhesive lines positioned right along the bottom edge to anchor the first course of shingles against wind uplift. If your repair extends to the roof edge or rake, you must replace the starter elements before setting field shingles. Reputable roofers understand that starter joints must never align with the cutouts or joint lines of the first decorative shingle course, as wind-driven rain will exploit the aligned seams and rot the decking underneath.
Trim the tabs off standard three-tab shingles to create continuous starter strips, or use dedicated rolled starter material. Position the adhesive strip facing upward and outward along the drip edge metal, maintaining a half-inch overhang past the metal lip to ensure dripping water drops clear of the fascia board.
Homeowners must also weigh the structural differences between targeted shingle repairs and widespread reroofing over old assemblies. While replacing a handful of damaged shingles restores local protection, laying new layers over an entire deteriorated roof introduces excessive dead-weight loads and shortens the operational lifespan of the new shingles due to trapped heat, a shortcut that experienced trade workers consistently advise against.
Precision Fastening and Flashing Integration
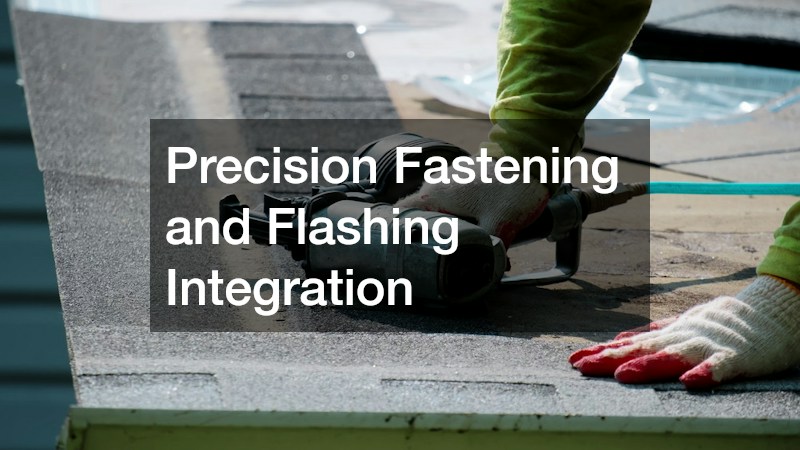
Installing your replacement shingles demands precise tool handling, correct material alignment, and careful fastener placement. The most common cause of premature roof failure after a DIY repair is improper nailing technique. When shingles are nailed too high, the fastener fails to penetrate the underlying shingle, dramatically reducing its wind-resistance rating. When driven too low, nail heads remain exposed to direct rain, creating immediate leak points that lead straight to the roof deck.
Position your replacement shingle into the open slot, sliding its upper edge underneath the lifted tabs of the course above. Align the bottom edge of the new shingle tabs precisely with the bottom horizontal line of the adjacent existing shingles to maintain a straight, uniform reveal. Once aligned, hold the shingle firmly with one hand while preparing your fasteners. Use only 11-gauge or 12-gauge hot-dipped galvanized steel roofing nails with heads at least three-eighths of an inch in diameter, ensuring the shank length is sufficient to penetrate at least three-quarters of an inch into the wood decking or completely through the plywood sheathing.
- Drive nails straight and perpendicular to the roof plane; driving fasteners at an angle causes the sharp nail head to cut into the shingle surface like a chisel.
- Seat the nail head completely flush with the shingle surface without breaking the protective fiberglass mat underneath.
Any experienced roofer will emphasize that nail placement must pass through the double-thickness section of the shingle—the narrow band where the upper half of the lower shingle overlaps the upper fastening margin. In addition to securing the replacement piece, you must also drive fresh nails through the lifted tabs of the existing courses above that were pried loose during teardown, restoring their original structural grip.
If your repair intersects a vertical plane, such as an exterior sidewall, a dormer, or a chimney, you must integrate step flashing correctly. Step flashing consists of individual L-shaped pieces of galvanized steel, aluminum, or copper bent to a ninety-degree angle. Each piece of step flashing must overlap the one below it by at least two inches, stepping up the wall with each consecutive course of shingles.
Never nail the flashing to both the wall and the roof deck; fastening to both surfaces causes the metal to warp and tear as the house naturally settles and shifts with temperature swings. Fasten the flashing to the roof deck only, allowing the wall counter-flashing or siding to cover the upright leg. Applying asphalt roofing cement sparingly beneath the shingle edges seals the seam without trapping moisture. A licensed roofing company relies strictly on step flashing and mechanical joints to keep water out, avoiding heavy layers of caulk that dry out and crack after a few seasons.
Cleanup, Quality Control, and Long-Term Strategy

Once the final nail is driven and all overlapping tabs are seated flat, your project transitions into post-installation quality control, thorough perimeter cleanup, and future risk assessment. A clean worksite is not simply an aesthetic preference; it is a critical safety consideration for your family, pets, and vehicle tires.
Begin your inspection up on the roof by verifying the thermal seal of every disturbed shingle. In warm, sunny weather, the ambient ultraviolet heat naturally softens the factory-applied asphalt sealant strips, bonding the overlapping shingles together into a unified, wind-resistant monolithic surface. If you are completing this work in autumn, early spring, or overcast conditions, this thermal bond will not occur automatically.
- Manually apply small dabs of asphalt plastic roof cement—roughly the size of a quarter—underneath the corners of each disturbed shingle tab using a putty knife.
- Press the tab firmly down into the cement bed to create an immediate, wind-resistant mechanical bond.
- Avoid applying excessive cement; petroleum solvents in asphalt mastic can chemically react with thin shingles, causing blistering and premature granule loss.
- Confirm that all drip edges, gutter valleys, and flashing junctions are free of discarded debris, loose granules, and cut shingle scraps.
After descending safely from the ladder and dismantling your fall arrest gear, shift your attention to the ground. Roofing projects scatter sharp fasteners across grass, landscaping, and concrete walkways. Run a heavy-duty rolling magnetic sweeper over every square foot of ground surrounding the work zone, paying special attention to flower beds, driveway aprons, and outdoor patio spaces. Empty the gathered nails into a metal scrap bucket, repeating the magnetic sweep in two perpendicular directions to ensure no stray fasteners remain.
Attempting endless patch repairs on an asphalt roof that has surpassed twenty years of age yields diminishing returns. When widespread deterioration appears across multiple slopes, planning a complete roof replacement represents the most cost-effective and structurally sound strategy to protect your property value. Reach out to reputable local roofing contractors to secure detailed, competitive estimates, review material warranties, and schedule full system installations before localized leaks cause permanent damage to your home.
Maintaining a weather-tight roof is the foundation of protecting your home from water damage, mold growth, and structural decay. While discovering lifted or torn asphalt shingles after a storm can be unsettling, executing a careful, methodical repair over the weekend stops water intrusion before it compromises your ceilings, insulation, and framing.
By treating safety as an absolute priority, securing proper fall arrest rigging, carefully releasing old adhesive seals, inspecting the wooden decking below, and driving every galvanized fastener with precision, you can restore your roof’s defensive envelope to peak performance. Respect the limits of DIY roofing, stay vigilant regarding underlying rot, and take pride in knowing your home is safe, dry, and protected from the elements.